Choosing within this department
Torque wrenches & workshop drivers
Choose a torque tool from the component’s required setting and service instructions, then check how the tool reaches and engages the fastener. The measured range, indication, direction and included attachments all affect the purchase. A large bit count or a high ratchet-strength figure does not replace those checks.
Start with the measured range and indication
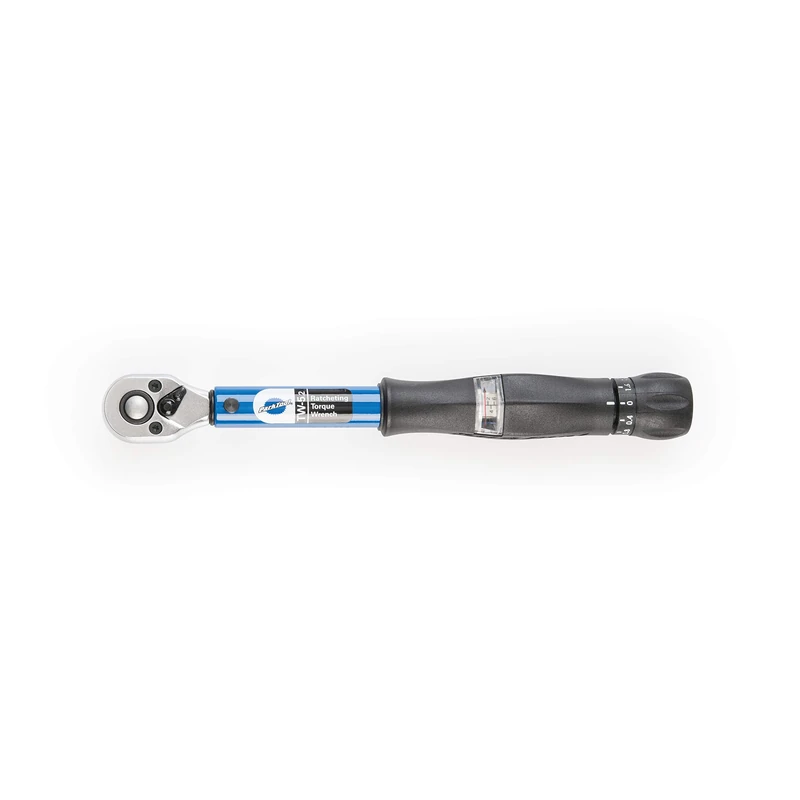
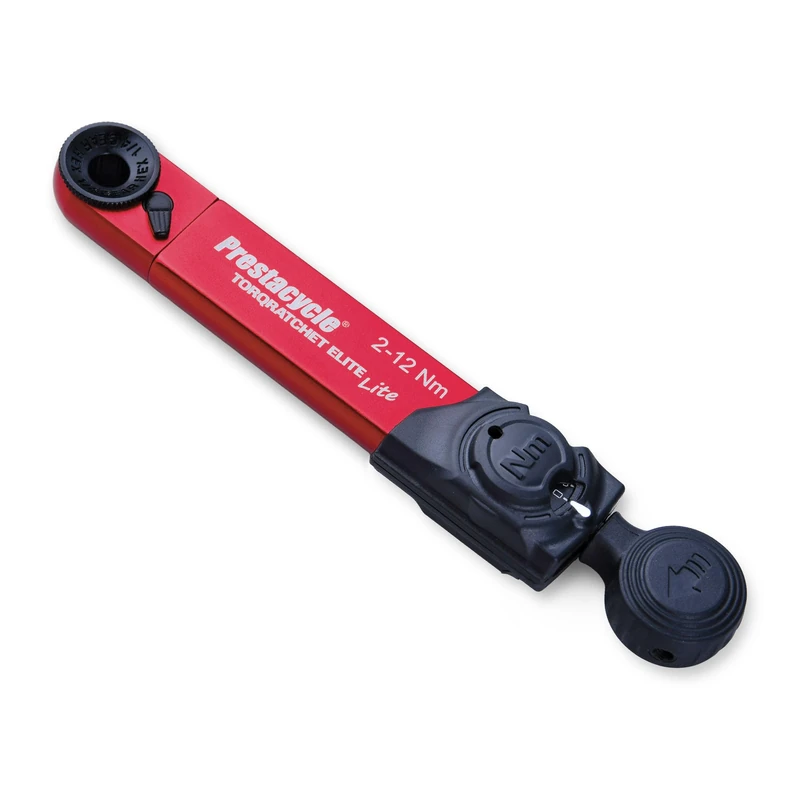
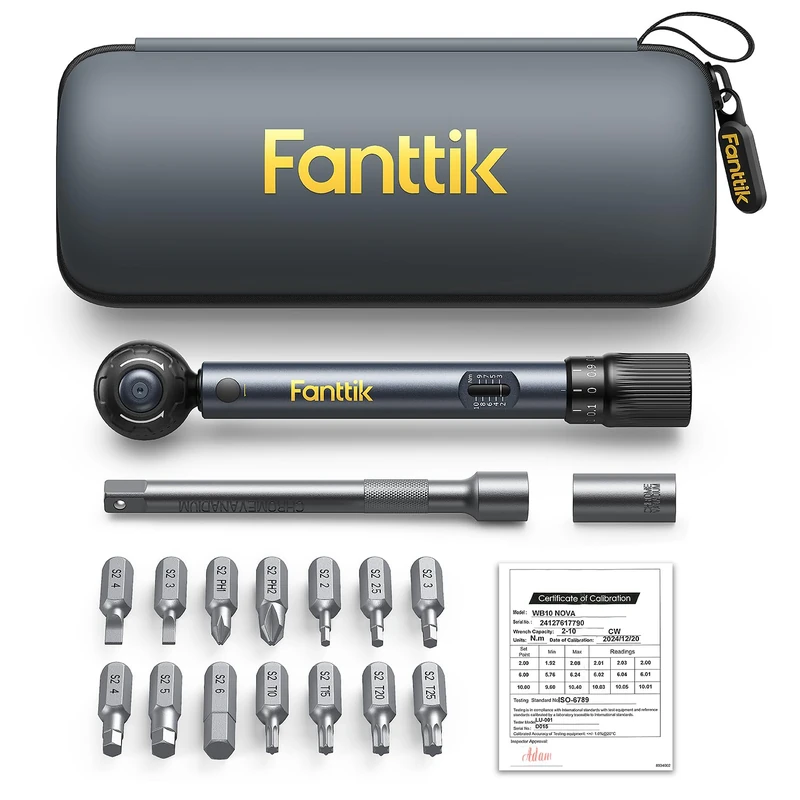
The selected Park click wrench covers 2–14 Nm, Fanttik WB10 Nova covers 2–10 Nm, and Prestacycle ELITE Lite indicates 2–12 Nm. Those ranges describe the intended torque measurement or indication, rather than every amount of force the tool body can withstand. Select from the actual setting required for your component; there is no single universal bicycle torque.
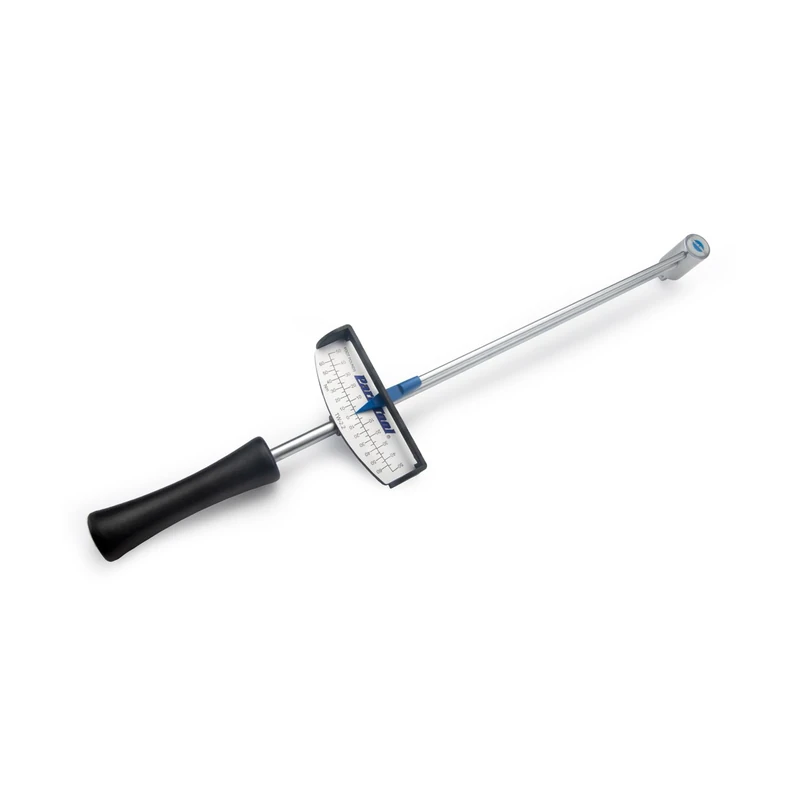
A click tool provides a release indication at the chosen setting; a beam or dial arrangement requires reading the indication during use. Compare this difference with the access and viewing position available. The TW-2.2 beam wrench is a different range and indication choice, rather than an automatic upgrade for low-torque fasteners.
Choose a Torque Range, Indication and Usable Bit Set ↗
Check the bit, drive and reach together
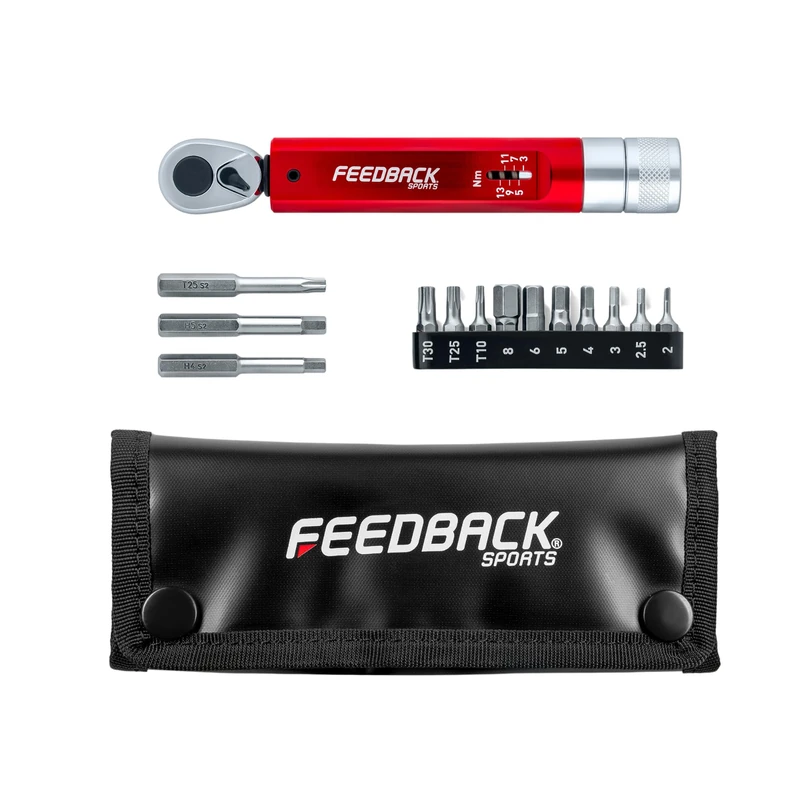
The Park wrenches need separate suitable attachments. Feedback Range Click 17873 supplies thirteen specified bits; Prestacycle ELITE Lite supplies twelve, and the Fanttik set lists fourteen with its own extension and adapter arrangement. Count only profiles and sizes you can actually use. A set containing many bits can still lack the correct profile or usable reach for one recessed fastener.
Keep square-drive and hex-bit contacts distinct. A nominal quarter-inch size alone does not tell you which receiving shape is present. Check the complete path from instrument to socket or adapter to fastener before deciding that an existing attachment will fit.
Match the Component Contact Before the Drive Handle ↗ · Choose a Torque Range, Indication and Usable Bit Set ↗
Read direction, scale and adjustment as separate features
For the exact Range Click 17873, the maker states torque registration in both directions and distinguishes 0.17 Nm adjustment from 1 Nm printed graduations. These are different features: how finely a setting changes and what is printed on the scale. Neither is a test result for the individual unit you will receive.
A reversible ratchet does not by itself establish torque measurement in both directions. Use the exact instrument’s direction specification. The Park 2–14 Nm tool has a published historical-versus-current fine-increment difference, so confirm the supplied version if that increment determines your choice.
Choose a Torque Range, Indication and Usable Bit Set ↗
Avoid confusing strength and measurement claims
Prestacycle lists 30 Nm for the handle and 65 Nm for internal components, separately from ELITE Lite’s 2–12 Nm torque indication. Those higher figures do not extend its measuring scale. Similarly, zero alignment or a sample calibration document does not establish a fresh traceable calibration of the unit in your order.
When pairing a torque wrench with a cup socket or suspension socket, check both tools’ permitted actuation. A matching drive does not grant impact-tool permission or supply a component torque setting. Buy the attachment for the contact and the instrument for the measured range you actually need.
Choose a Torque Range, Indication and Usable Bit Set ↗ · Match the Component Contact Before the Drive Handle ↗
Questions before you choose
Do more bits mean the set will fit more of my bicycle?
Only if their actual profiles, sizes and usable lengths match its fasteners. Compare the itemized list and any required adapter with the jobs you plan to do.
Can I use a 30 Nm handle rating as the torque measuring range?
Not for ELITE Lite. Its 2–12 Nm indication is separate from its handle and internal-component strength ratings.
Does a reversible ratchet prove left-hand torque measurement?
No. Reversing the ratchet and measuring torque in a direction are different capabilities. Check the exact instrument’s stated measurement direction.
What should I check before using an existing socket?
Check receiving shape and size, access, permitted actuation and the component contact. Then confirm that the component’s required setting lies within the instrument’s specified range.
Continue your selection
Compare the exact component and selected offer with its maker’s requirements. These are buying comparisons, not a hands-on repair test.